Security
Quick start
Users
In this menu you can view and register and invite users to the platform.
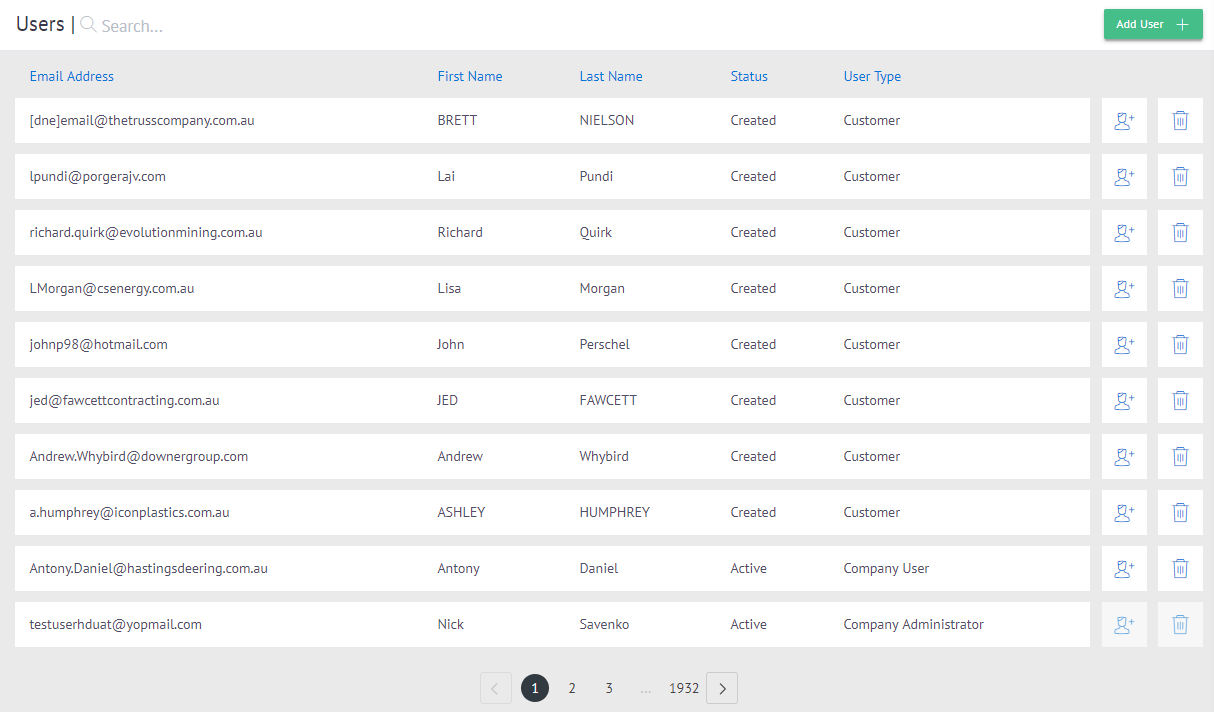
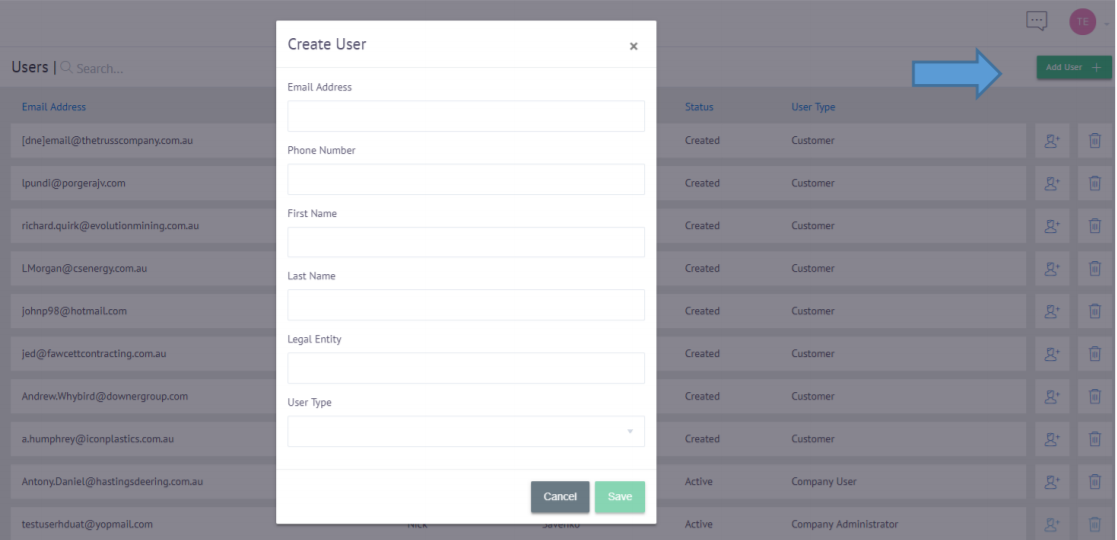
To add a new user you will have to click on the Add User button in the upper right corner.
The following information must be entered:
- Email Address
- Phone Number
- First Name
- Last Name
- Legal Entity
- User Type: Company User / Customer / Vendor
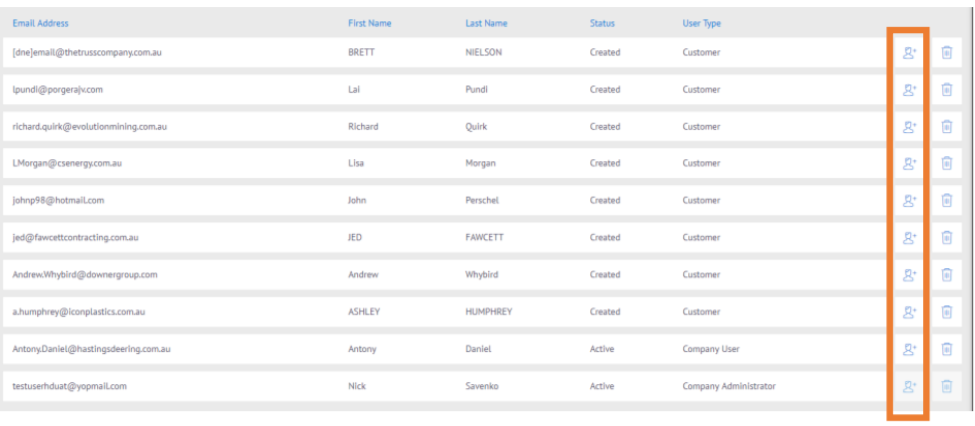
You can also invite users by clicking on these buttons.
To edit a user you must click on a row.

Then you will have to click on the Edit button in the upper right corner.
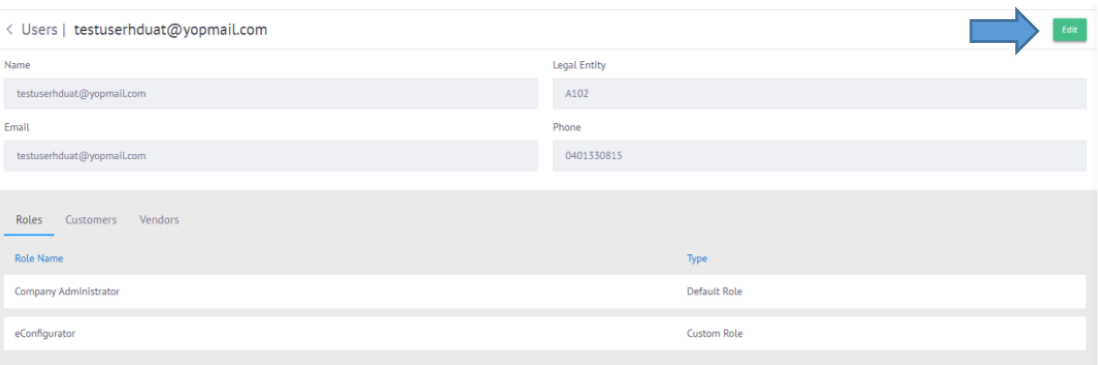
Clicking the button allows you to edit the Legal Entity and Phone fields. You can also link roles, customers and vendors by clicking on the respective Add button at the bottom right.

Roles
In this menu you can create and edit the roles of the platform.
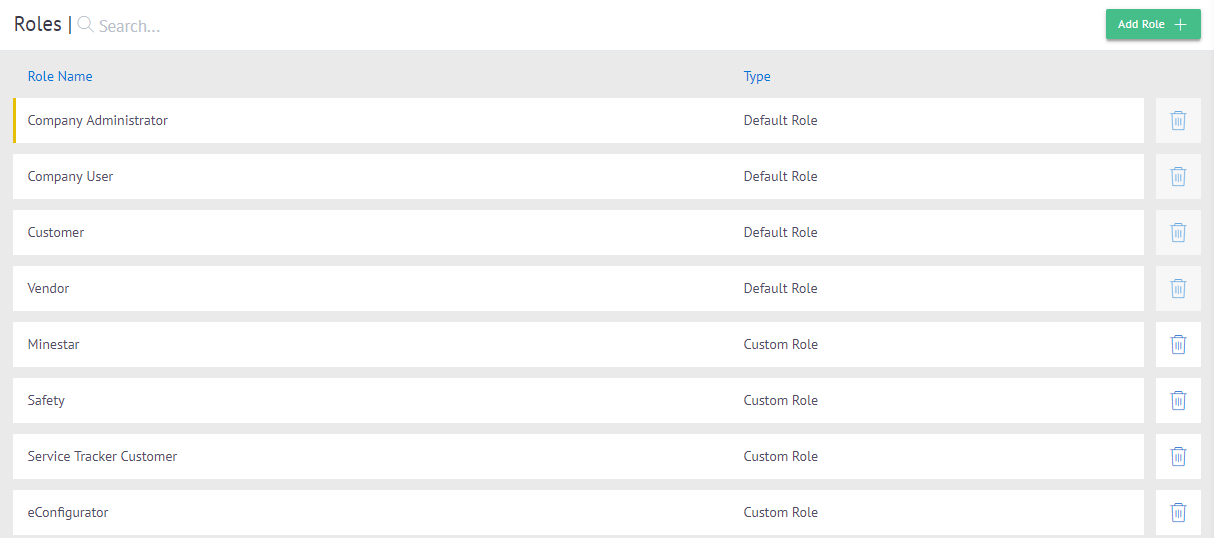
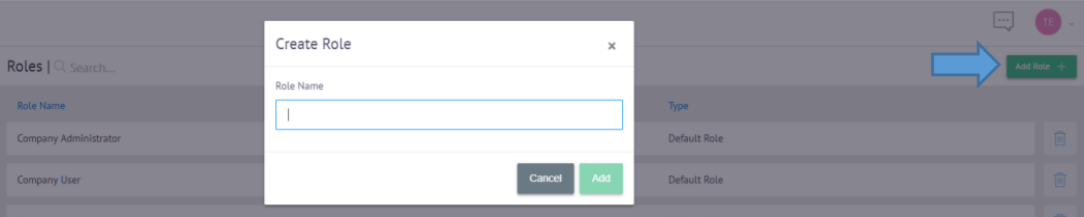
To add a new role you will need to click the Add Role button in the upper right corner, and then enter the name of the role.
To view the information related to a role you will have to click on one of them and you will be able to see the list of users that have that role and edit the different accesses that has the role with respect to all the menus of the platform.
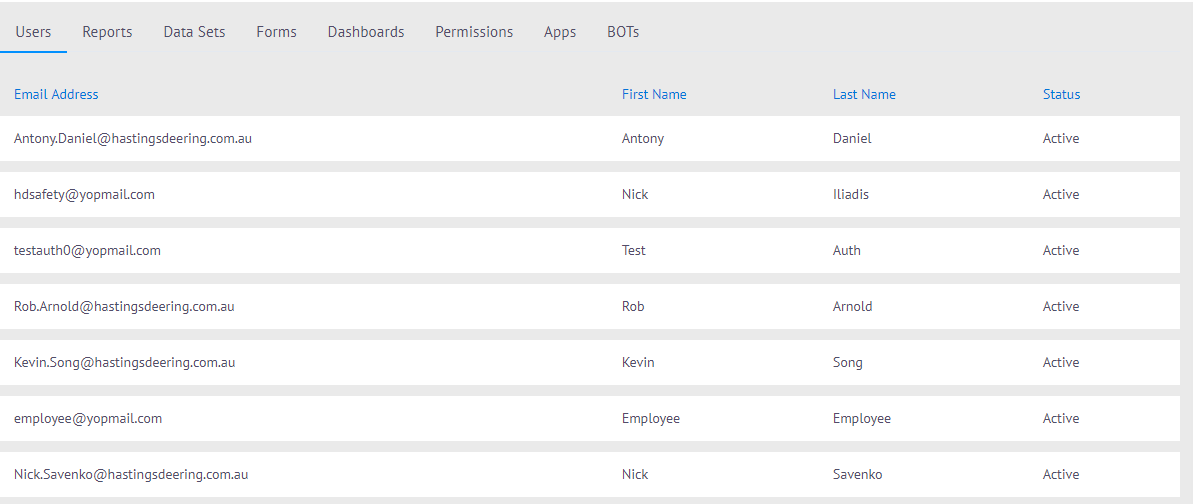
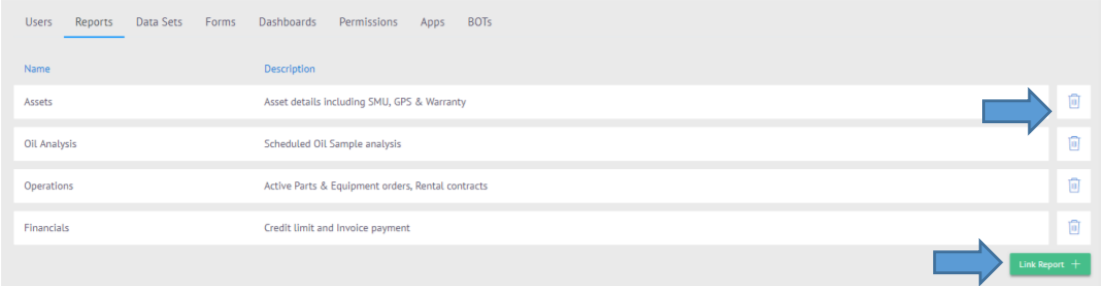
To add or remove these accesses, you must first click on the Edit button at the top right, then you can make the respective changes in each of the tabs.
Permissions
In this menu you can create the permissions that will be used on the platform.
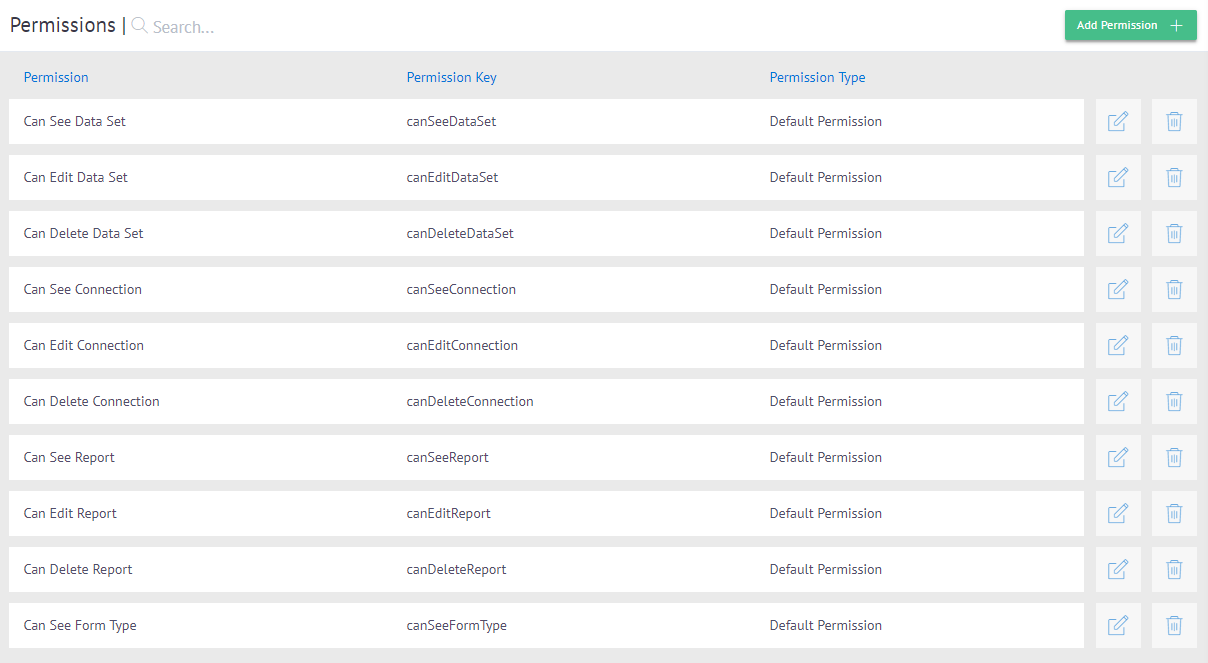
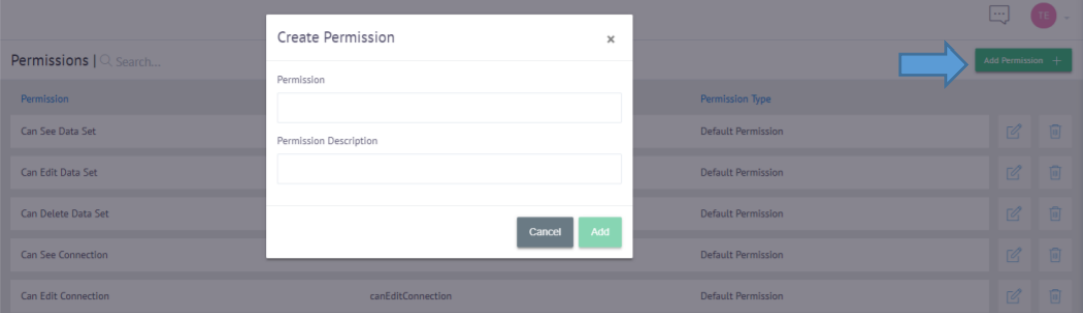
To register a new permission you must click on the ADD permission button located in the upper right corner and enter the name and description of the permission.
Customers
In this menu you can modify and add the customers for the platform.

You can synchronize the Dynamics AX table by clicking the Autosync button located in the upper right corner
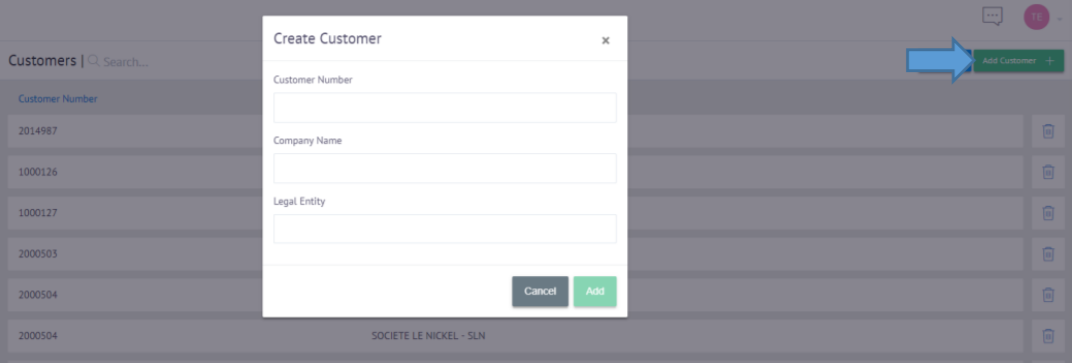
To add a new customer you must click on the Add Customer button in the upper right corner and enter the following information:
- Customer Number
- Company Name
- Legal Entity
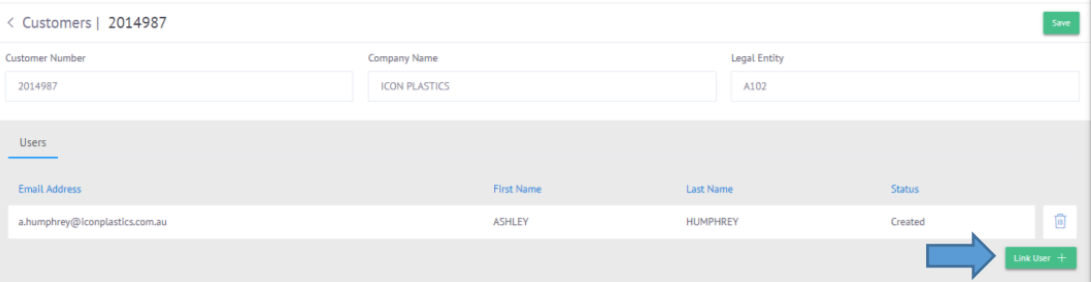
To modify a customer you must click on the row, then click on the Edit button in the upper right corner to modify your information and also link users by clicking on the link User button located in the lower right corner.
Vendors
In this menu you can modify and add the vendors for the platform.

You can synchronize the Dynamics AX table by clicking the Autosync button located in the upper right corner
To add a new vendor you will need to click the Add Vendor button in the upper right corner and enter the following information:
- Vendor Number
- Company Name
- Legal Entity
To modify a vendor you must click on the row, then click on the Edit button in the upper right corner to modify your information and also link users by clicking on the link User button located in the lower right corner.